A kitchen remodel follows a fixed sequence, and that sequence matters more than most homeowners expect. When each trade, delivery and inspection happens in the right order, the work moves smoothly and finishes cleanly. When steps are done out of order, the result is often rework, damaged finishes and avoidable delays.
This guide explains the kitchen remodel order of operations from the first planning conversation to the final walkthrough, so homeowners in New York City and Westchester can understand what should happen, when it should happen and why. Use it to plan realistically, ask better questions and spot problems before they become expensive corrections.
Planning: Define the Kitchen You Need
Planning is the first real step, and it comes before any demolition or ordering. Start by looking honestly at how your household uses the kitchen today. Where does cooking feel cramped, where does storage fall short, and where do people gather, work or pass through? Those answers shape the layout far more reliably than a trend or a single feature.
Next, measure the space carefully and note what cannot easily move, such as exterior walls, windows, plumbing stacks and structural elements. A clear brief at this stage prevents changes later, when changes are hardest to make. It also helps your contractor understand your priorities, from everyday cooking and storage to entertaining, homework space or accessibility. Good planning does not mean deciding every finish on day one, but it does mean agreeing on the layout, the scope and the way decisions will be made.
Design and Material Selection: Choose Before You Build
Once the layout is settled, design turns that plan into drawings and selections. This is when cabinets, countertops, tile, flooring, fixtures, appliances, lighting and hardware should be chosen and confirmed. Detailed drawings show cabinet sizes, appliance openings, outlet locations and clearances, so the trades that follow are not guessing on site.
Material selection also matters for timing. Long-lead items, especially cabinets, can take considerable time to manufacture and deliver, so they should be ordered early, as soon as measurements and specifications are final. The same care applies to specialty tile, custom pieces and appliances with limited availability. Ordering early does not mean rushing a decision; it means confirming decisions in an order that protects the schedule. For a broader view of how this work fits into a whole-home project, see our interior renovation services in New York.
Permits and Approvals: Get Permission Before Demolition
Permits and approvals should be secured before demolition begins, whenever the scope requires them. In New York City, work that moves plumbing or electrical systems, changes layouts or affects structure commonly involves Department of Buildings permits and inspections. The exact requirements depend on the building, the scope and the work being done, so they should be confirmed early rather than assumed.
Building and co-op approvals are equally important. Many apartment buildings and co-ops have their own rules about work hours, deliveries, insurance, alterations and materials, and approval can take time. In Westchester, local municipal requirements also apply and vary by location. Homeowners in the area can learn more from our interior renovation contractors in Hastings-on-Hudson. Starting this step early avoids a common frustration: a crew ready to work, but no permission to begin.
Demolition: Clear the Space Carefully
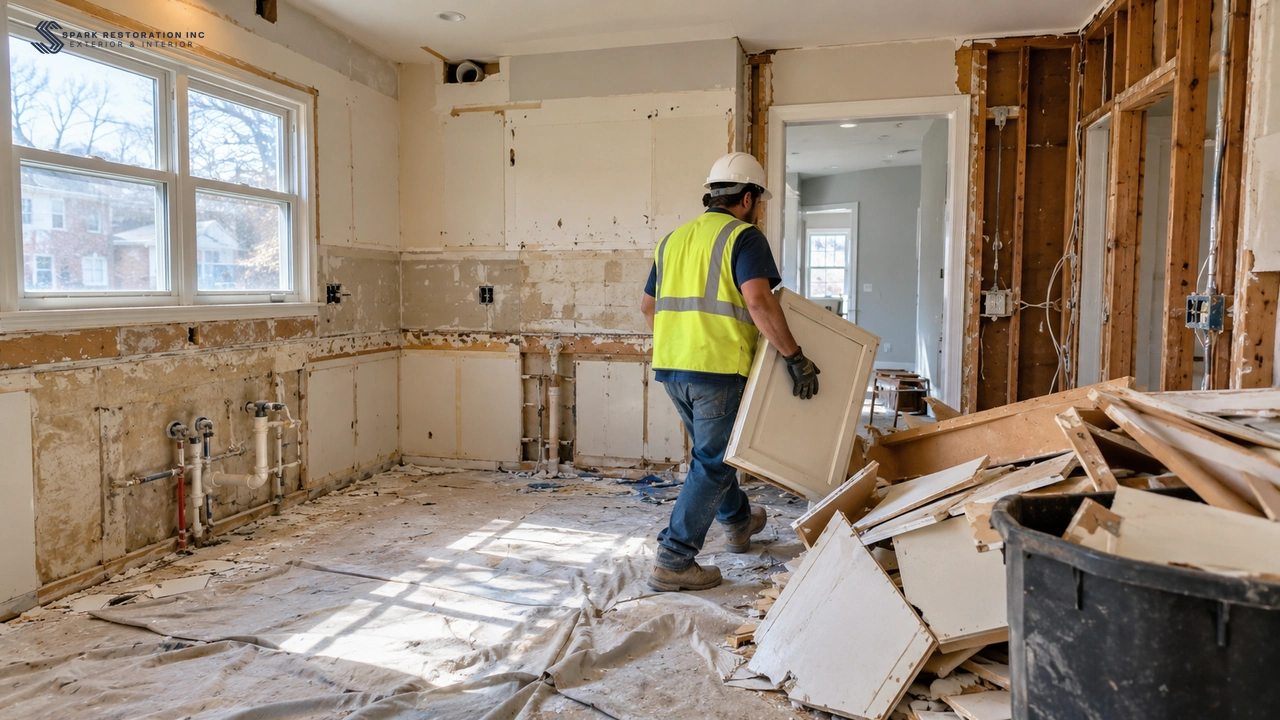
Demolition removes the old kitchen so the new one can be built, but it should be controlled rather than rushed. Cabinets, countertops, appliances and finishes are taken out in a planned sequence, and anything worth keeping is protected. Floors, adjacent rooms and hallways should be covered, and dust control matters, especially in an occupied home or apartment building.
This is also when hidden conditions are revealed. Once walls and floors are open, the team can see the real condition of framing, plumbing and wiring. Some discoveries are minor, while others require a change in approach. That is why demolition comes after planning and approvals, and before new work is installed: it confirms what the rough work must address.
Rough Plumbing, Electrical and HVAC Work
Rough work happens inside the walls and floors, before surfaces are closed up. Plumbing lines are moved or replaced to serve the new sink, dishwasher, refrigerator and any other planned fixtures. Electrical work adds or relocates circuits, outlets and lighting points to match the approved layout. Heating, ventilation and air conditioning work, where needed, addresses range ventilation, ductwork and comfort.
This stage is invisible in the finished kitchen, which is exactly why it must be done carefully. A misplaced outlet, an undersized circuit or a poorly routed drain is far easier to correct now than after cabinets and tile are installed. Every location should be checked against the design drawings, including appliance dimensions, sink placement and lighting plans, before walls are closed.
Inspections: Confirm the Rough Work
Inspections follow rough work and must happen before walls are closed. An inspector reviews the plumbing, electrical and related work to confirm it meets applicable codes and approved plans. This step protects the homeowner as well as the home, because it catches problems while they are still accessible.
Do not let finishes cover uninspected rough work. If an inspection identifies a correction, it should be made and rechecked before moving forward. A short pause here is far better than opening finished walls later. Keeping inspection records and approvals organized also helps at the end of the project, when final sign-off is needed.
Walls, Ceilings and Flooring Preparation
After rough work passes inspection, walls and ceilings are repaired, patched and prepared. Drywall or plaster is installed or restored, joints are finished, and surfaces are made smooth and level. This is the point at which the room begins to look like a kitchen again, even though the most visible finishes have not yet arrived.
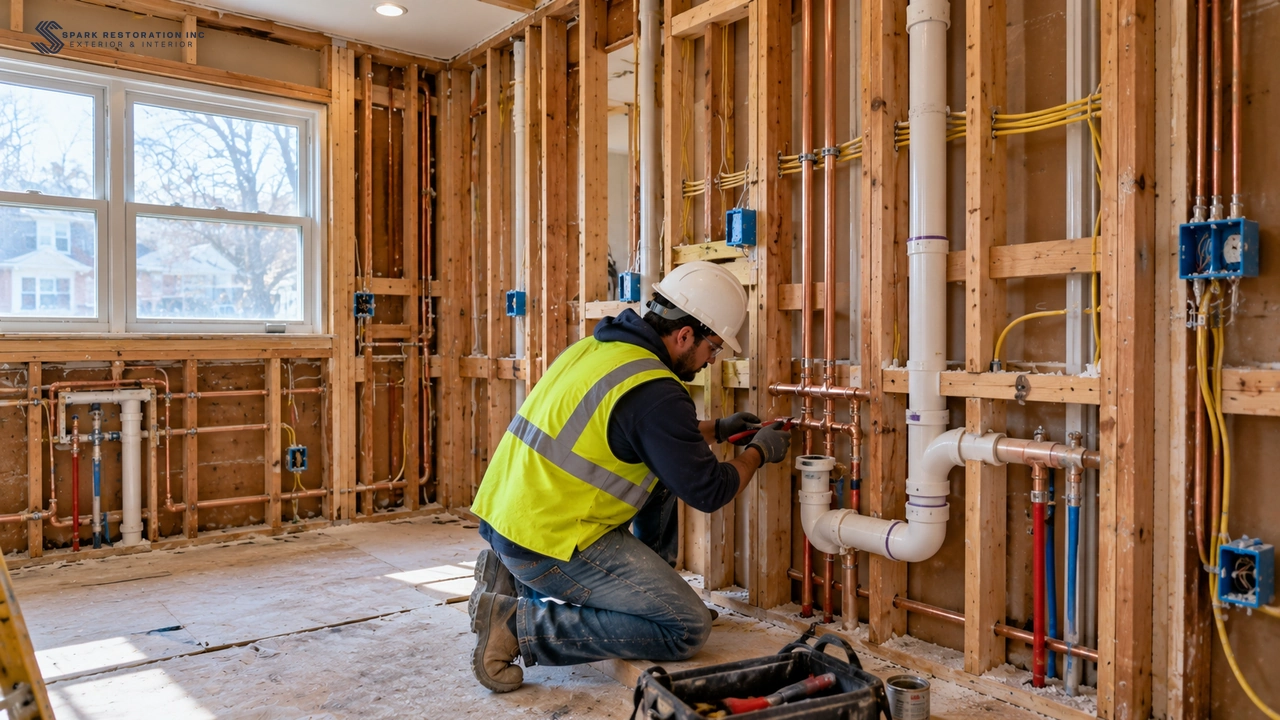
Flooring preparation also happens in this phase. Subfloors are leveled and repaired, and underlayment is installed where required. The exact flooring sequence depends on the material chosen, but the goal is the same: a stable, level base that will support cabinets and finish flooring properly. Preparation done well here prevents uneven cabinets, rocking appliances and flooring problems later.
Cabinet Installation: Set the Kitchen in Place
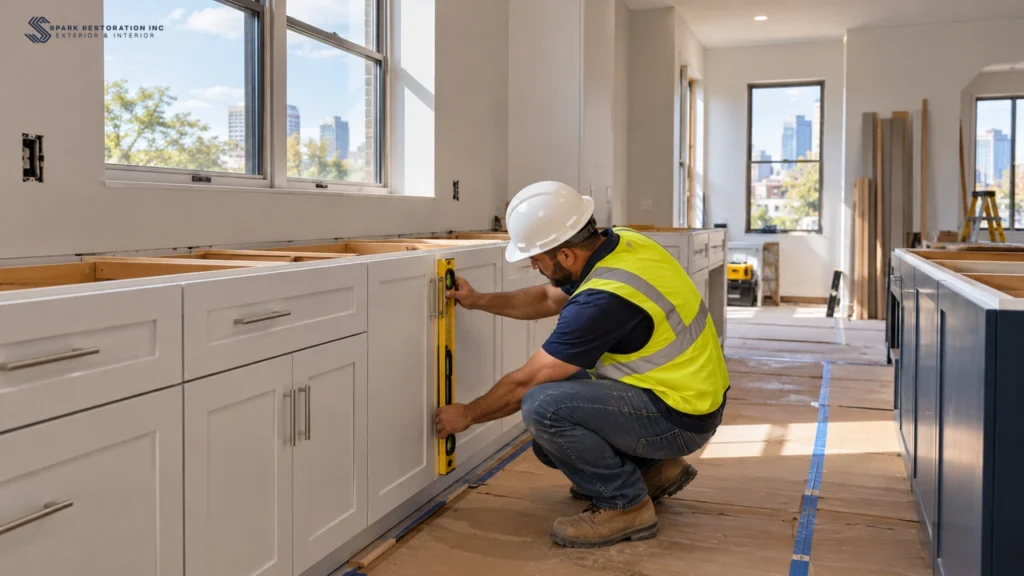
Cabinet installation is a turning point in the project because it defines the kitchen layout in three dimensions. Base cabinets are leveled and secured first, followed by wall cabinets and tall units, with careful attention to alignment, spacing and clearances. Appliance openings should be checked against the actual appliances, not just the drawings.
Level cabinets matter for everything that follows. Countertops sit on cabinets, appliances slide between them, and backsplash tile meets their edges. If cabinets are uneven or out of alignment, those later steps become difficult or visibly flawed. Taking time to install cabinets correctly saves far more time than it costs.
Countertop Templating and Installation
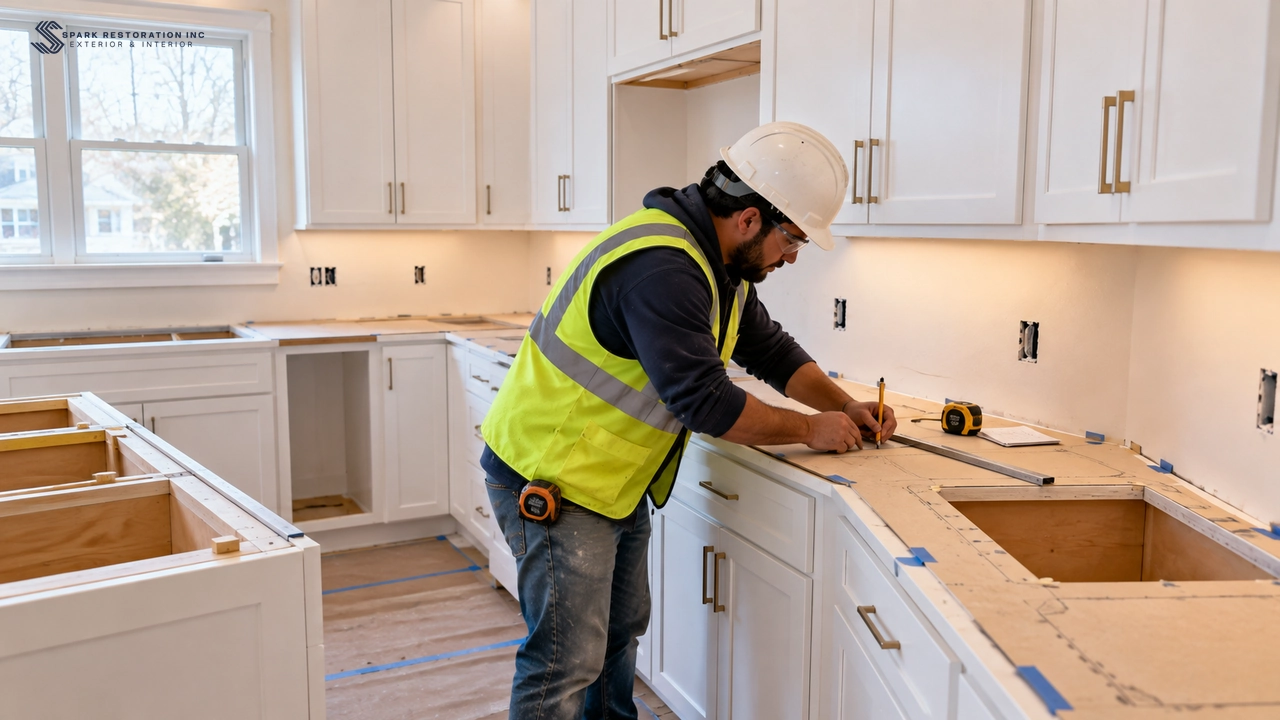
Countertop templating waits until cabinets are installed, and for good reason. A template is a precise physical or digital pattern of the installed cabinets, walls and openings. It captures the real dimensions of the space, including small variations in walls that drawings alone cannot show.
Once the template is complete, the countertop material is cut and finished to match it. Installation follows, with seams, edges and sink cutouts aligned to the cabinets below. Because this step depends on the finished cabinet layout, scheduling templating too early is a common mistake. A template made before cabinets are set risks a countertop that does not fit, and that error is difficult and costly to correct.
Backsplash and Tile Work
Backsplash and tile work comes after countertops are installed, because tile sits on top of the countertop and must meet it cleanly. Tile is measured, cut and set to follow the countertop line, cabinet edges, outlets and any focal areas such as the range wall. Grout and sealant complete the surface and protect it from moisture.
Doing tile in this order also protects the work itself. If tile were installed first, later countertop work could chip it, shift alignment or leave an uneven joint. The sequence keeps each finish in the best condition and produces the crisp lines homeowners expect in a finished kitchen.
Fixture, Appliance and Lighting Installation
With cabinets, countertops and tile in place, fixtures and appliances can be installed. Sinks and faucets are connected to the plumbing prepared during rough work. Dishwashers, ranges, ovens, refrigerators and other appliances are positioned, leveled and connected, with ventilation and clearances checked carefully.
Lighting is completed in this phase as well, including under-cabinet lighting, pendants, recessed lights and switches. Because electrical rough work was planned around the layout, this stage should be a matter of fitting and testing rather than relocating wires. Every fixture and appliance should be tested before the project moves to final finishes, so any problem is found while the team is still on site.
Painting and Finishing Touches
Painting and finishing touches come near the end for a practical reason: paint is easily damaged by construction. Walls and ceilings are painted after heavy work, cabinet installation and tile work are complete, so the finish is not scuffed by tools, materials or repeated access. Trim, moldings and touch-ups follow the same logic.
Hardware, outlet covers, caulking and small details complete the look at this stage. These final touches may seem minor, but they make the difference between a kitchen that looks newly built and one that looks nearly finished. Doing them last keeps them clean and intact for handover.
Final Inspection, Punch List and Cleanup
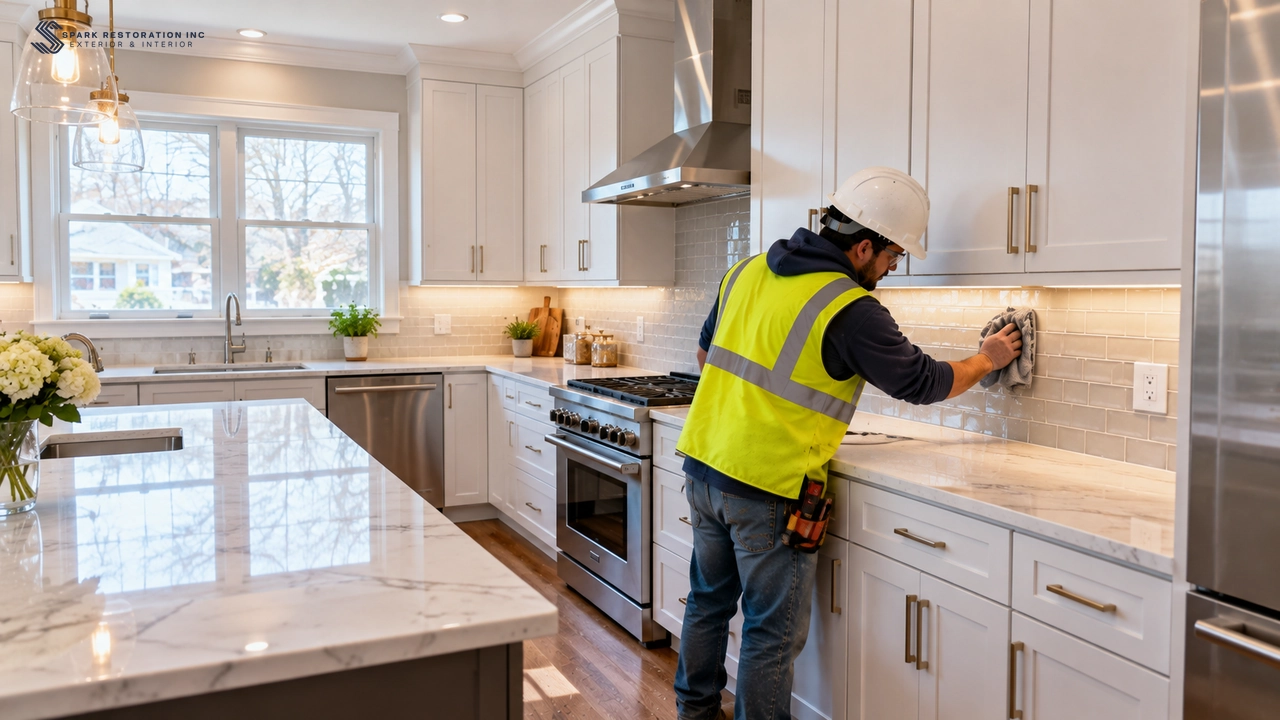
The final stage is inspection, correction and cleanup. A final inspection confirms that permitted work has been completed as required. Separately, a punch list walkthrough gives the homeowner and contractor a chance to inspect the finished kitchen together and note anything that needs adjustment, from a cabinet door that needs alignment to a paint touch-up or a fixture that needs tightening.
Punch list items should be completed before the project is considered finished, and the space should be thoroughly cleaned. Appliances, surfaces and floors should be left ready for everyday use. If you are planning a kitchen remodel and want to discuss the sequence for your home, contact us to start the conversation.
Common Sequencing Mistakes and How to Avoid Them
One of the most common mistakes is painting before cabinets are installed. Fresh paint is easily damaged during cabinet delivery and installation, and touch-ups rarely match perfectly. Keeping painting near the end protects the finish and avoids repeated work.
Another mistake is ordering appliances at the last minute. Appliances determine cabinet openings, electrical requirements and plumbing connections, so late decisions can delay cabinet work or force compromises. Confirm appliance models and dimensions early, even if delivery is scheduled for a later stage.
Scheduling countertop templating too early is equally risky, as explained above. A template must reflect installed cabinets, not planned ones. Finally, skipping or rushing inspections creates the most serious risk of all, because covered work is difficult to correct. The simplest way to avoid these mistakes is to follow the sequence, confirm each stage before moving to the next, and keep a written schedule that everyone on the project can see.
Frequently Asked Questions
What is the first step in a kitchen remodel?
Planning is the first step. Define how you use the kitchen, confirm the layout and scope, and agree on the design direction before demolition or ordering begins. Early planning prevents costly changes later in the project.
Why do cabinets go in before countertops are measured?
Cabinets must be installed first so countertops can be templated from their actual position. Walls are rarely perfectly straight, and only a template taken after installation captures the exact dimensions needed for a precise fit.
Can I paint the kitchen before the cabinets are installed?
It is not recommended. Painting before cabinet installation risks damage from delivery, handling and installation, and touch-ups may not match the original finish. Painting near the end keeps the final finish clean and intact.
When are appliances installed during a kitchen remodel?
Appliances are installed after cabinets, countertops and tile work are complete, once their openings and connections are ready. Their models and dimensions, however, should be chosen much earlier so cabinets and rough work can be planned around them.
How long does a kitchen remodel usually take from demolition to finish?
There is no single answer, because scope, inspections and material lead times decide the timeline. A straightforward remodel generally moves faster than one involving layout changes, structural work, permits or long-lead materials, so the schedule should be based on your specific project rather than a general promise.