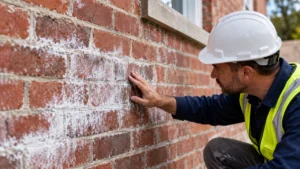
A bathroom remodel works best when it follows one clear sequence: plan and order materials first, then demolition, rough plumbing and electrical, inspection where required, waterproofing, tile and flooring, vanity, fixtures and finishes, and final checks. That order is not about formality. Each step prepares the surface, connection, or measurement the next step depends on, so work done in the right order stays in place, while work done early often has to be removed, redone, or worked around. This guide explains the bathroom remodel order of operations step by step, why each phase comes where it does, and the mistakes that happen when the sequence is skipped or reversed.
Why the Order Matters in a Bathroom Remodel
A bathroom is small, but it is one of the most technically crowded rooms in a home. Water supply and drainage, electrical circuits, ventilation, waterproofing, tile, and finished fixtures all share the same walls and floor, and a change in one system can affect several others. Moving a shower drain, for example, changes the floor build-up, the waterproofing layout, and the tile layout. Choosing a vanity with different dimensions changes the plumbing rough-in locations and the space left for a mirror, lighting, and movement around the room. When those decisions are made in sequence, each trade can work from confirmed measurements rather than assumptions.
The order also protects finished work. Tile is vulnerable to damage from later demolition or rough work, and new fixtures can be scratched or stained if they are installed before dusty, wet, or heavy work is finished. A logical sequence keeps fragile and finished surfaces out of the way until the messy work behind them is complete. It also makes problems easier to find: if a leak, a wiring issue, or a drainage problem appears, it is far easier to correct before walls are closed, tile is set, and fixtures are in place. As part of a broader interior renovation in New York, a bathroom remodel therefore benefits from the same discipline as any larger project: decide first, build the hidden work properly, prove it, and only then finish it.
Step 1: Planning, Design and Ordering Materials First
Planning comes before any tool is picked up. Start with the layout: where the shower, toilet, vanity, and storage will sit, how the door swings, and whether the existing plumbing locations will stay or move. Measure carefully, including wall thickness, ceiling height, door clearances, and the exact space around each fixture. Then choose the items that determine those measurements, such as the vanity, shower system, toilet, tile, and lighting. A plan that looks good on paper but does not fit the room, the plumbing, or the electrical supply will cause changes later, and late changes are the most common reason a remodel loses its sequence.
Ordering materials early is just as important as choosing them. Long-lead items such as a vanity, tile, and fixtures should be ordered before demolition, so the project is not left waiting with an open, unusable bathroom while a key item is still in transit. Confirm sizes, finishes, and delivery details before demolition begins, and check that items arriving on site match the plan. The same planning-first logic applies to a kitchen remodel order of operations, where cabinets and appliances also set the measurements for everything that follows. Homeowners working with interior renovation contractors in Flushing, NY should also allow time at this stage for building rules, access arrangements, and any approvals that may affect the scope, because those questions are much easier to answer before walls come down.
Step 2: Demolition and What It Reveals
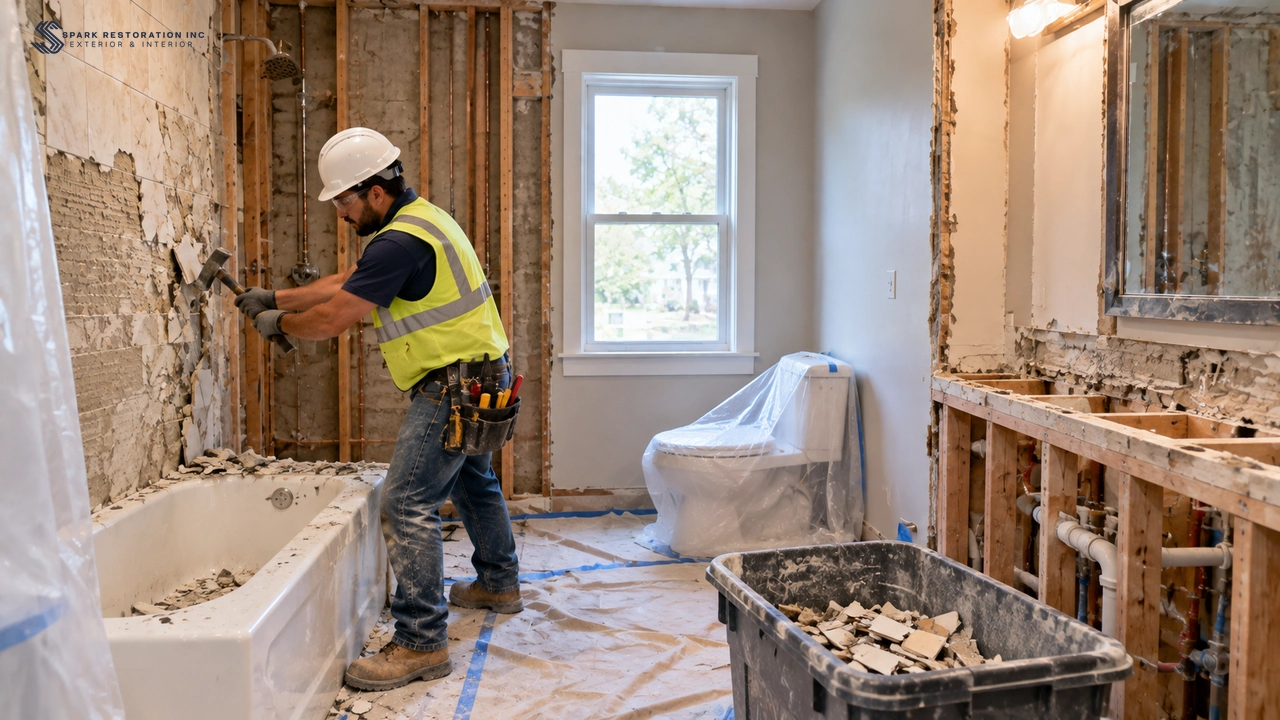
Demolition removes the old bathroom down to the structure that will carry the new one, including old tile, fixtures, and damaged or unsuitable surfaces. It should be done with protection for the rest of the home: dust control, floor and doorway protection, and a clear plan for removing debris without damaging hallways, stairs, or neighbouring rooms. Fixtures and fittings that are being replaced should be disconnected properly, and water supplies should be shut off and capped safely before removal begins. Rushing this stage often creates damage that has to be repaired later, which defeats the purpose of a clean start.
Demolition also reveals what could not be seen during planning. Once tile and wall coverings are removed, the condition of framing, subfloor, plumbing, and wiring becomes visible, and hidden moisture damage, rot, or earlier poor workmanship may come to light. This is why demolition comes after planning but before any new finish work: it confirms whether the plan still fits the reality of the room. If a framing member needs repair, a drain needs to move, or a wall is not straight, that work belongs here, before new plumbing, waterproofing, and tile lock the room into a shape that is difficult to change. A thorough check at this stage prevents surprises from appearing after the most expensive materials are already installed.
Step 3: Rough Plumbing and Electrical
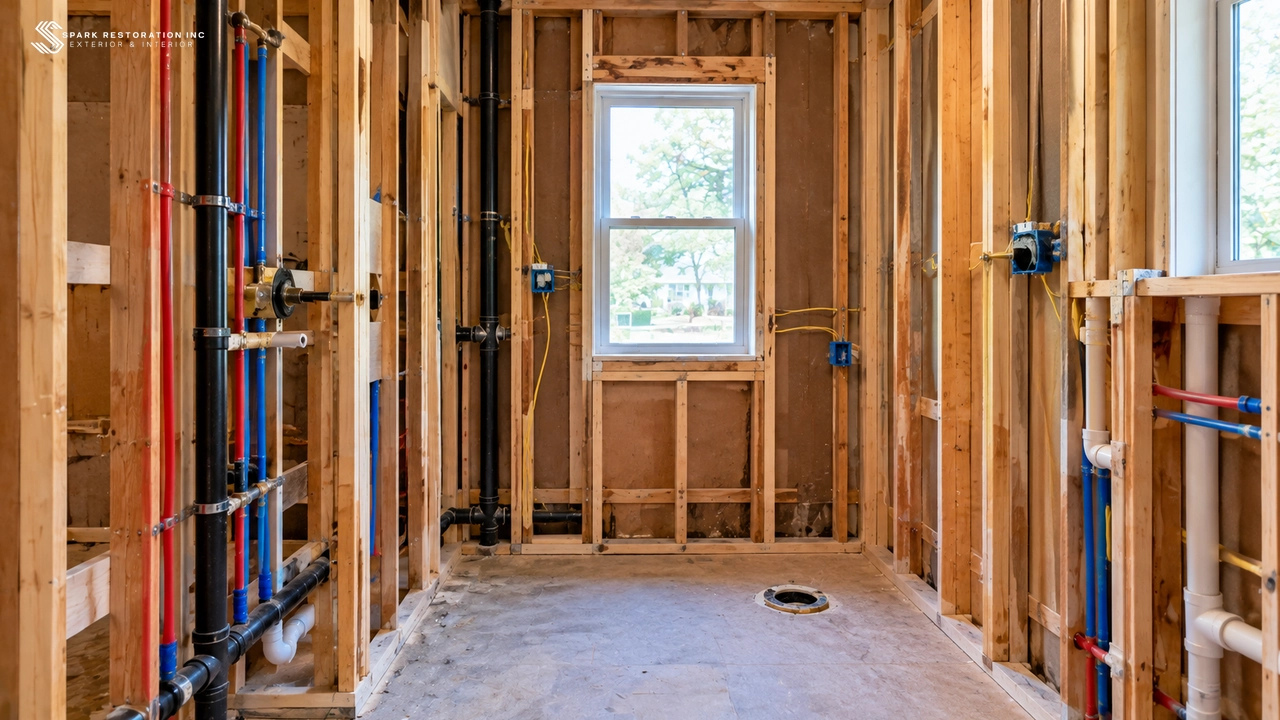
Rough work is the hidden infrastructure of the bathroom. Rough plumbing sets the positions of supply lines, drains, shower valves, and toilet connections, while rough electrical sets lighting circuits, outlets, switches, and ventilation. Both are installed while walls and floors are still open, so pipes and cables can be routed correctly, secured properly, and kept clear of one another. This stage must follow the confirmed layout and the actual dimensions of the chosen fixtures, not approximate measurements. A shower valve set at the wrong height, a drain placed off-centre, or an outlet in the wrong position will be visible in the finished room, even if the tile and fixtures themselves are well chosen.
Because rough work is hidden by the next layers, it should be checked carefully before anything closes over it. Where the city requires it, rough plumbing and electrical work is inspected before walls close, and that inspection should never be treated as an optional delay to work around. Even where a particular change does not require an inspection, the work should still be tested: supply lines checked for leaks, drains checked for flow and alignment, and circuits checked for correct operation. Closing walls over untested work turns a small correction into a demolition job. Framing adjustments, backing for grab bars or heavy fixtures, and any blocking for mirrors and vanities should also be completed at this stage, while access is still easy.
Step 4: Waterproofing — the Step You Cannot Skip or Rush
Waterproofing comes after rough work and before any tile, and it is the layer that protects the structure from the water a bathroom handles every day. Membranes, sealants, and drainage details must form a continuous barrier in wet areas, especially in showers, around tubs, and at floor-to-wall joints. Corners, seams, drains, and pipe penetrations need particular care, because a small gap in those places can let water reach framing and subflooring that will not dry easily once tile covers it.
This step cannot be rushed. Surfaces must be clean, sound, and properly prepared before a membrane is applied, and the membrane must be allowed to cure fully in line with the product instructions before tile begins. Skipping a coat, tiling over a membrane that has not cured, or leaving a joint unsealed may look acceptable at first, but the failure usually appears later, as staining, swelling, mould growth, or damage to rooms below. The duration of this phase depends on the products used, the size of the wet area, and drying conditions, so patience here protects every finish that follows.
Step 5: Tile, Flooring and the Vanity
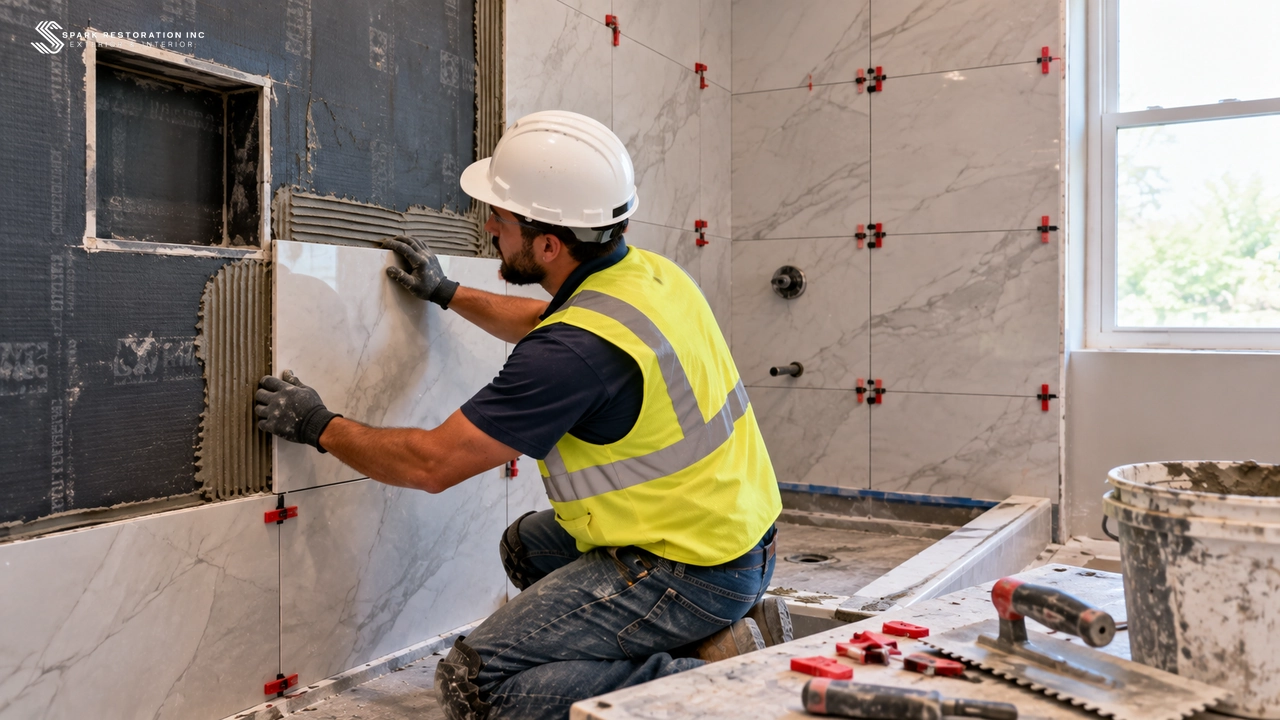
Only once waterproofing membranes have cured should tile go in. Tile is set from a planned layout, not by starting in a corner and hoping the pattern works out. Grout lines, cuts around fixtures, slopes toward drains, and transitions between floor and wall tile all need to be considered before the first tile is fixed. Shower walls, shower floors, and bathroom floors each have their own requirements, and the layout should keep cuts balanced and visible edges neat. Large-format tiles need flat, stable surfaces, which is another reason the earlier framing, waterproofing, and preparation work matters so much.
After tile is set and grouted, the vanity can be installed against a finished, measured surface. Installing the vanity after tile avoids cutting tile around a cabinet that may later change, and it gives a clean junction between the vanity, the wall, and the floor. Vanity plumbing connections should align with the rough-in positions set earlier, and the unit should be level, secure, and sealed where it meets the wall. Countertops, mirrors, and lighting can then be positioned in relation to the finished vanity and tile, rather than guessed from an unfinished room.
Step 6: Fixtures, Finishes and Final Checks
Fixtures are set after tile, when the surfaces they sit on are finished and stable. Toilets, shower trims, faucets, and other fittings are installed to the finished tile and vanity, then sealed and tested. This is also the stage for final finishes: mirrors, lighting, hardware, accessories, paint touch-ups, and caulking at junctions that need a flexible, waterproof seal. Because these items are the most visible parts of the room, they benefit from being installed last, after dust, cutting, and wet work are complete.
Final checks should cover the whole room systematically: run showers and faucets, flush toilets, check drains, look for leaks at visible connections, test lights, outlets, and ventilation, and inspect tile, grout, seals, and finishes for damage or defects. Doors, drawers, and cabinet fronts should open and close cleanly, and any protective coverings should be removed only after the room is clean. A careful final walk-through catches small issues while they are still easy to correct, and it confirms that the finished bathroom matches the plan agreed at the start.
The Mistakes That Happen When Steps Are Done Out of Order
The most common out-of-order mistakes are easy to recognise. Ordering materials after demolition leaves the project stalled. Tiling before waterproofing has cured traps problems behind a finished surface. Installing fixtures before tile forces awkward cuts and risks damage to new fittings. Closing walls before rough work is inspected or tested hides faults that later require reopening the wall. Each of these mistakes has the same cost: rework, delay, and damage to work that was already installed.
Another frequent mistake is changing the layout midway through the project, after rough plumbing, waterproofing, or tile has already fixed positions in place. Late changes can be necessary when demolition reveals a genuine problem, but changing a fixture, a drain, or a wall position for preference alone should be weighed against the rework it creates. Keeping decisions in their proper phase — layout and materials first, hidden work second, finishes last — is the simplest way to keep a bathroom remodel orderly, predictable, and durable.

When the sequence is respected, each phase supports the next, and the finished bathroom is more likely to look right and last. If you are planning a bathroom remodel and want help planning it in the right order, contact Spark Restoration Inc to discuss your project.
A clear sequence also makes it easier to spot problems early, keep finishes protected, and avoid rework, which is why it is worth agreeing the order with your contractor before demolition begins.