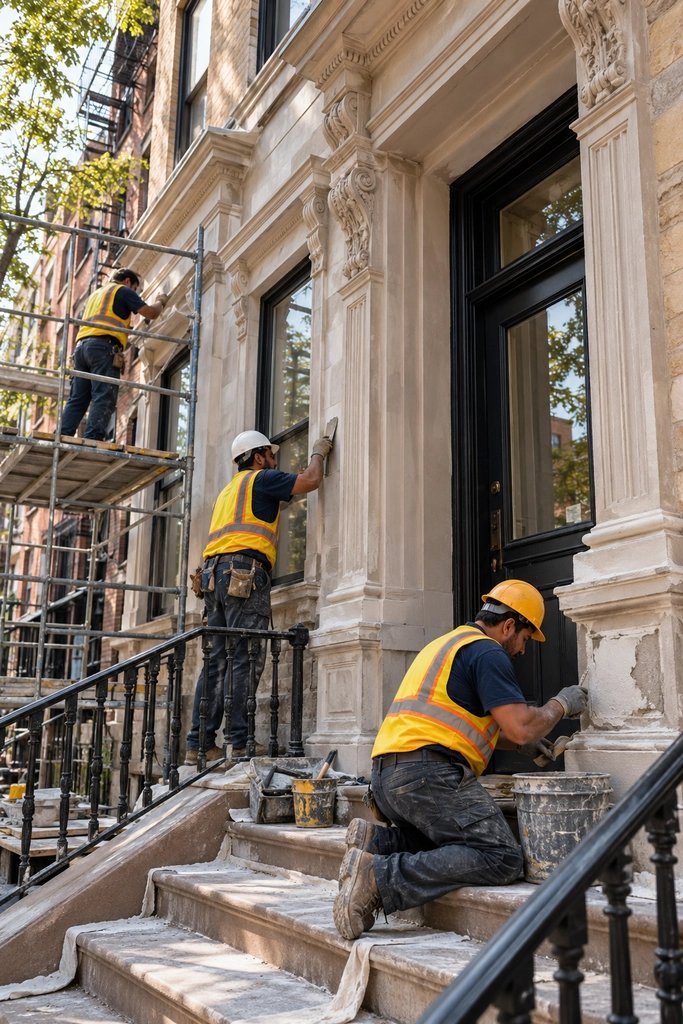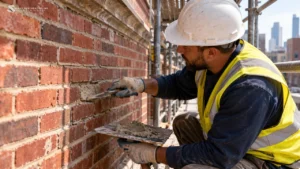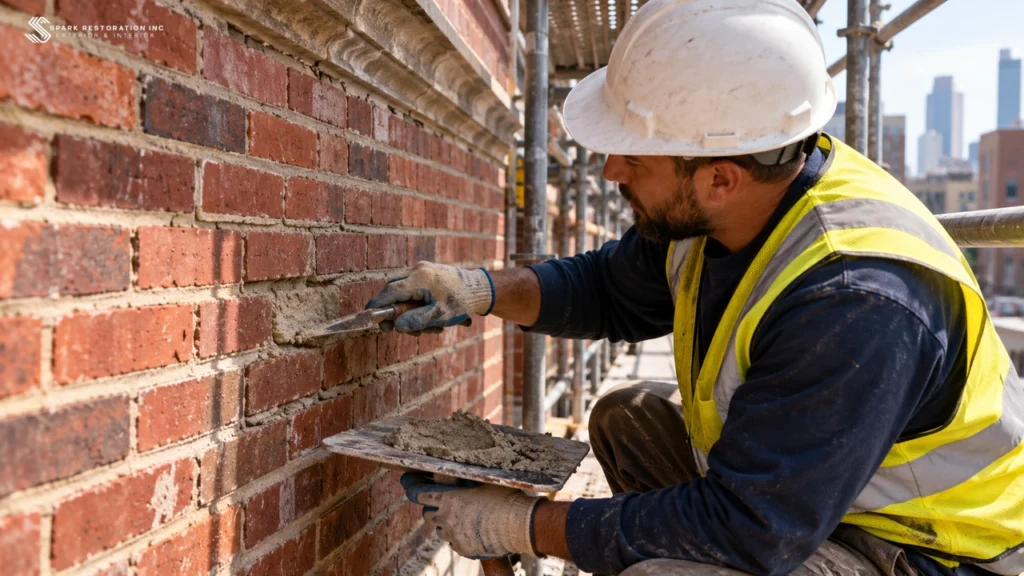
Tuckpointing and pointing are often used interchangeably, but they describe different work. Pointing — and its repair form, repointing — is the practical work of filling and finishing the mortar joints between bricks or stones on an existing wall. Tuckpointing is a decorative finishing technique that uses two contrasting mortar colours to create the look of very fine, precise joints. In short, repointing repairs and protects masonry, while tuckpointing is mainly about appearance. Knowing which one you are actually being offered matters, because the right choice depends on the condition of your wall, the look you want to preserve, and how the existing joints were made.
What Pointing and Repointing Actually Are
Pointing is the mortar work at the face of a masonry wall. When a wall is first built, the joints between the bricks or stones are filled with mortar and then finished, or pointed, to give a neat surface and to help keep water out. That outer layer of mortar is exposed to rain, frost, heat and movement, so it does not last forever. Over time it can wear, crack and fall away, even when the bricks themselves remain sound.
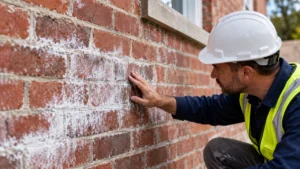
Repointing is the repair of that joint work. It means removing deteriorated mortar from the joints and replacing it with new mortar, carefully matched to the original as far as possible. It is not a cosmetic coat over the surface. The old, failed material is taken out first, so the new mortar can bond properly and do its job. Signs that repointing may be needed include crumbling or powdery mortar, gaps between brick and mortar, joints that have receded from the face of the wall, and damp patches that suggest water is finding its way in.
Good repointing aims to protect the wall as well as to improve how it looks. The new mortar should suit the bricks, match the colour, texture and profile of the surrounding joints, and allow the wall to breathe and move in the way it was designed to do. When it is done well, the repaired areas blend in and the wall is better protected against water penetration and further deterioration. Our masonry services focus on this kind of careful, practical repair work, because a sound joint is the first line of defence for a brick facade.
What Tuckpointing Actually Is
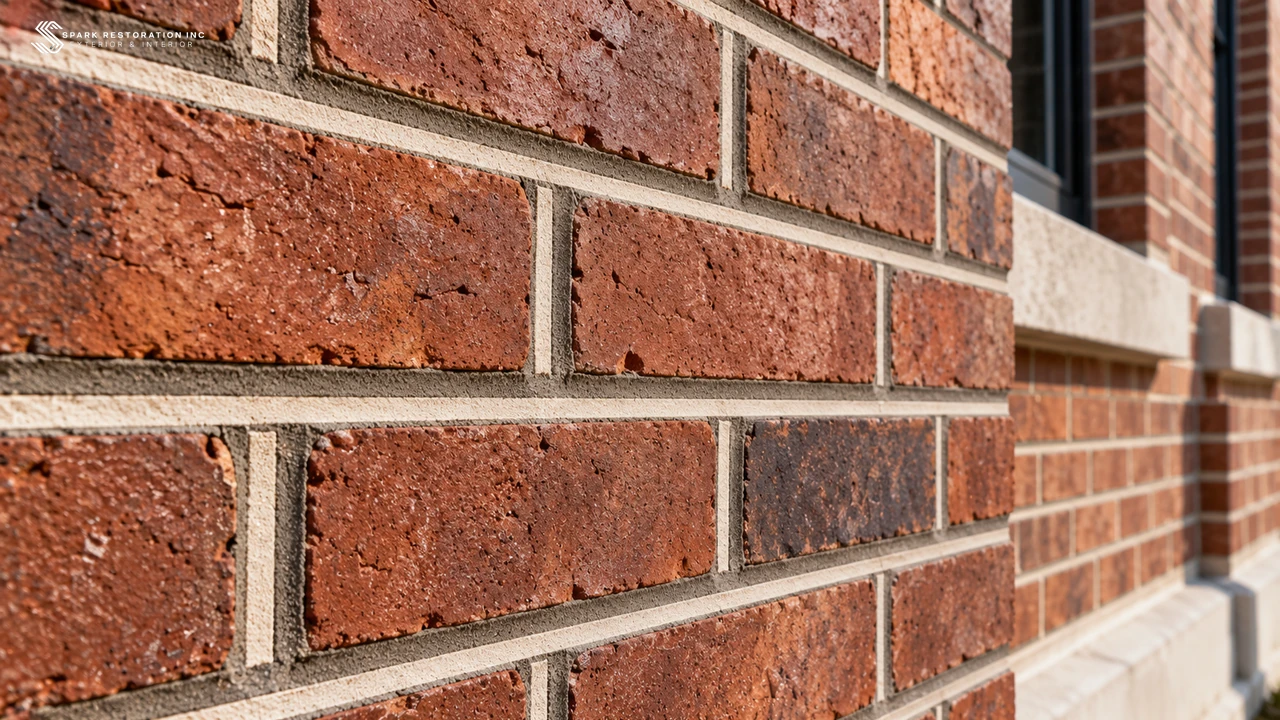
Tuckpointing began as a decorative finishing style rather than as a structural repair. In traditional tuckpointing, a mortar bed is first applied and coloured to match the brickwork as closely as possible, so the real joints become much less visible. A very thin line of contrasting mortar, often white or a pale cream colour, is then pressed into that bed and carefully tooled to form a crisp, fine joint. The result is the appearance of neat, regular, precisely laid brickwork, even where the bricks themselves are uneven or the real joints are wider.
That two-tone effect is the defining feature of tuckpointing. The background mortar hides the true joints, while the fine fillet on top creates the illusion of small, sharp joints. It takes a steady hand, careful colour matching and a great deal of patience, because every line must be straight, even and consistent. It is detailed finish work, and it is judged first and foremost by how it looks when you step back from the wall.
It is important to understand what tuckpointing does not do on its own. A thin decorative line will not repair mortar that is deeply crumbled, loose or missing, and it will not make a weak wall sound. Where the underlying joints have failed, the practical repair has to come first. Tuckpointing can then be considered as a finish over sound, properly prepared mortar, if that refined, formal appearance is what the building calls for.
Why the Terms Get Confused
The confusion is understandable, and it is very common. Both jobs involve mortar, joints, trowels and brickwork, and from a distance a freshly repointed wall and a tuckpointed wall can look quite similar. In everyday conversation, and sometimes in marketing, the word tuckpointing is also used loosely to mean any kind of mortar joint repair, even when no two-tone decorative finish is involved at all. That loose use has blurred a distinction that was once much clearer.
The safest approach is to ask what the work will actually involve, rather than relying on the label alone. Will deteriorated mortar be removed and replaced? Will the new joints be made to match the existing ones, or will a contrasting fine line be added over a coloured mortar bed? The answers to those questions tell you far more than the name of the service, and they help you compare like with like when you are considering different proposals for your building.
How to Tell Which One Your Building Needs
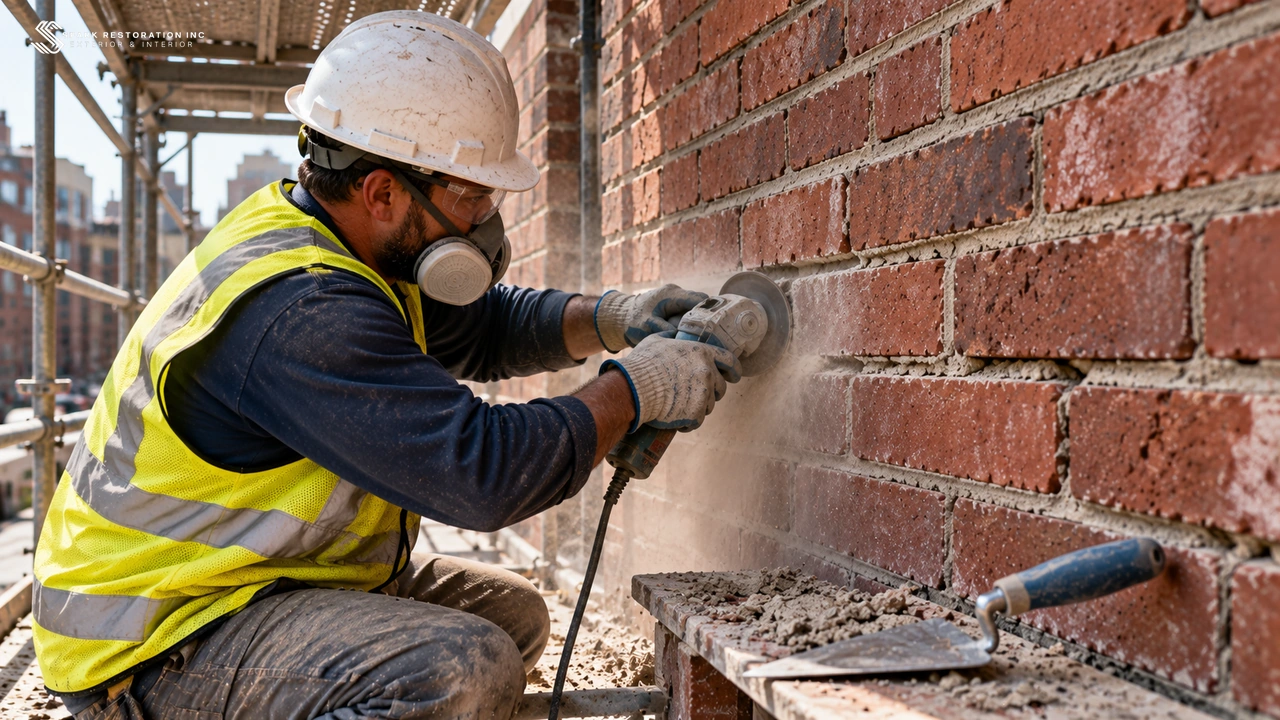
Start with the condition of the mortar. If joints are crumbling, hollow, cracked or missing, or if water is getting into the wall, the priority is repair. That points to repointing: removing the failed mortar and replacing it with a suitable, well-matched mix. Appearance alone should not override a repair need, because covering failed joints with a decorative finish will not solve the underlying problem.
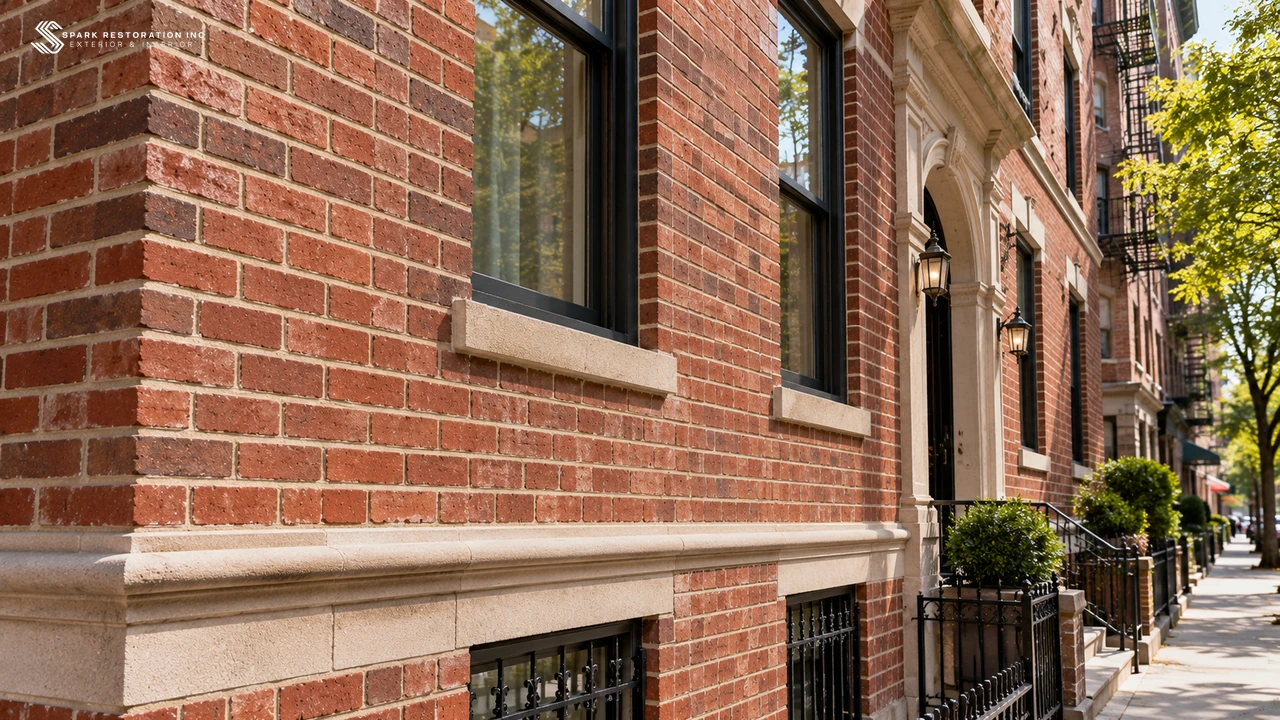
Next, look at the existing joints and the character of the building. On historic or late-1800s to early-1900s brickwork, the original joint style is part of the building’s character. Some of those walls were tuckpointed when they were built, and the fine contrasting lines were an intentional part of their design. In other cases, the joints were simply pointed to match the brick. Matching what is already there, rather than imposing a different style, usually gives the most sympathetic result.
Finally, be clear about your goal. If the aim is to stop deterioration, keep water out and keep the wall sound, repointing is the practical answer. If the joints are already sound but look wide, uneven or untidy, and you want a crisp, formal finish, tuckpointing may be worth discussing as a decorative option. When both repair and appearance matter, the usual order is to repair first and then decide on the finish. Our team of masonry contractors in Long Island City can assess the joints in person and explain which approach fits the wall in front of them.
What Each Process Involves Step by Step
Although the two processes share some tools and skills, their steps and their goals are different. A clear outline of each one makes the difference easier to see.
Repointing, step by step:
- Inspect the wall and identify which joints have deteriorated and how deeply the mortar has failed.
- Remove the failed mortar to a suitable depth, taking care not to damage the edges of the bricks.
- Clean out dust and loose material so the new mortar can bond properly to the brick and the old mortar behind it.
- Mix mortar to match the colour, texture and strength of the surrounding joints as closely as possible.
- Pack the new mortar into the joints in layers, building it up firmly rather than smearing it over the surface.
- Tool and profile the joints to match the surrounding work, then allow the mortar to cure and clean the brickwork carefully.
Tuckpointing, step by step:
- Prepare sound joints and apply a mortar bed coloured to blend with the brick, so the real joints are disguised.
- Allow that bed to reach the right stage, then mark and cut the lines where the fine joints will appear.
- Press a thin fillet of contrasting mortar into each line, keeping the width even along the whole run.
- Tool the fillet to a crisp, clean edge, trim away excess material, and brush the surface for a neat finish.
As that outline shows, tuckpointing adds decorative steps on top of careful mortar work. It is slower and more painstaking than straightforward repointing, because the finished lines are the whole point of the exercise and any wavering or unevenness will show.
What Affects the Cost of Each
We do not quote prices in this guide, because the cost of either job depends on the building and the scope of work. Several factors shape the final figure. The size of the wall and the area of joints to be worked on are obvious starting points, as are height and access: work that needs scaffolding or careful access arrangements will naturally involve more time and planning than work at ground level.
The condition of the existing mortar also matters. Joints that are deeply deteriorated take longer to rake out and refill than joints that need only localised attention. Matching the existing mortar, especially on older brickwork, can add time as well, as can the need to protect neighbouring surfaces, windows and planting during the work. For tuckpointing, the extra decorative stages, the colour matching and the precision required for the fine lines all add labour time compared with standard repointing.
Other factors include the type and profile of the joints, the condition of the bricks themselves, and whether any related repairs are needed before the joint work can begin. For a clearer picture of how these factors are usually weighed, see our brick repointing cost guide. The most reliable next step is an on-site assessment, where the joints can be inspected and the scope of work agreed in detail.
If you are unsure whether your building needs repointing, tuckpointing or a combination of the two, contact us and request a free estimate. We will look at the condition of your mortar, talk through the finish you want, and recommend the approach that best suits your building.
It is also worth checking your brickwork from time to time, especially after a harsh winter or a period of heavy rain. Small changes in the joints, such as fresh cracking, loose pieces of mortar or new damp marks inside, are easier to deal with when they are noticed early. A short walk around the building, with a closer look at corners, parapets and areas below windows, can reveal problems before they spread across a larger area of the facade.